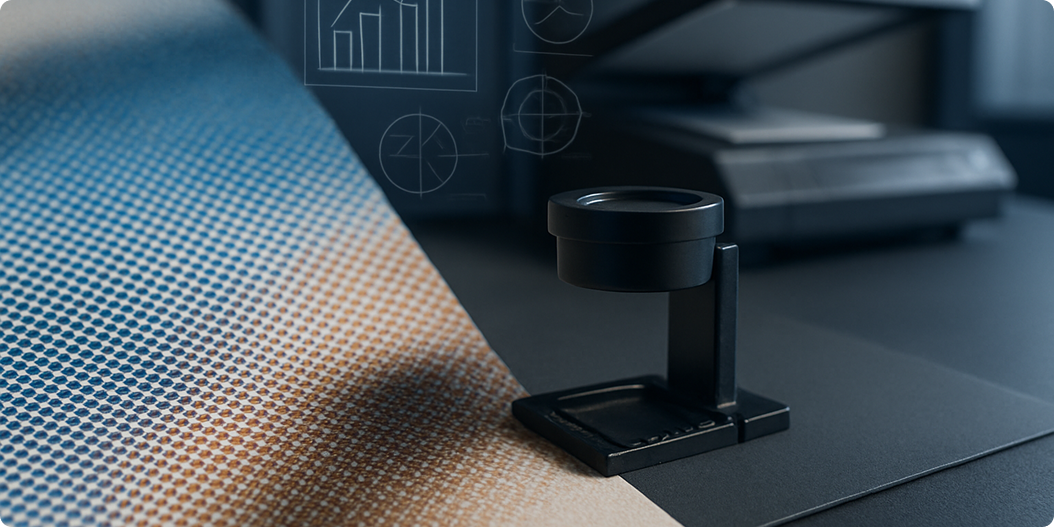
Imagine holding a 4×6 snapshot of your grandparents on their wedding day. It’s a bit faded, the edges are soft, but the memory it holds is priceless. Now picture scanning it—and discovering that the digital copy looks flat, blurry, or pixelated. What went wrong?
Chances are, it has to do with DPI—dots per inch—a deceptively simple term that holds the key to preserving detail, texture, and fidelity when digitizing analog materials.
In this post, we’ll break down what DPI means, how it affects your scans, and why getting it right from the start can save you from frustrating do-overs later on.
What Does DPI Actually Mean?
DPI refers to the number of dots (or pixels) captured per inch of original material during the scanning process. It is a measure of scanning resolution, not the resolution of the final image file. The higher the DPI, the more detail your scanner captures from the original photo or negative.
For example:
- Scanning a 4×6 print at 300 DPI produces a digital image that is 1200×1800 pixels.
- Scanning the same photo at 600 DPI creates a 2400×3600 pixel image—four times the data.
The increased DPI captures more texture, fine details, and tonal information. This matters if you plan to zoom, crop, reprint, or preserve your images at archival quality.
Why DPI Matters for Archival Scanning
Many consumer scanners default to 300 DPI because it’s “good enough” for casual viewing or small reprints. But for long-term digital preservation, higher DPI levels are recommended:
- 600 DPI: Ideal for photo prints; preserves more texture and grain for future cropping or restoration.
- 1200 DPI: Useful for small originals (e.g., wallet-size photos or small documents).
- 3000+ DPI: Often used for 35mm film, slides, and negatives where tiny details matter.
When you scan at a higher DPI, you give yourself more digital headroom—flexibility to zoom in without pixelation, better results for AI restoration or sharpening, and futureproofing against higher-resolution displays.
DPI vs. Optical Resolution vs. Interpolation
Not all DPI claims are equal. Scanners may advertise very high DPI values, but they often rely on interpolation—the process of artificially adding pixels between scanned dots. This increases file size without adding real detail.
What you want is true optical DPI, which reflects the hardware’s actual ability to resolve detail:
- Flatbed scanners: Often max out around 1200–2400 optical DPI. If designed specifically for this, some offer true DPI upwards of 6400 DPI.
- Dedicated film scanners: Can reach 4000–7200 optical DPI, ideal for high-resolution film scanning.
Pro tip: Check your scanner’s specs for “optical DPI” and avoid over-relying on interpolated settings unless you have a specific goal (e.g., matching output size).
File Size Considerations
Higher DPI scans create larger files. For example:
- A 4×6 photo at 300 DPI: ~2MB (JPEG)
- Same at 600 DPI: ~6–8MB
- At 1200 DPI TIFF: 25–50MB or more
This matters when you’re scanning hundreds or thousands of images. You’ll need adequate storage, and ideally, a file management plan (e.g., organizing by album, event, or year).
That said, storage is cheap—and re-scanning decades of family history later is not.
When Lower DPI Is Acceptable
There are some cases where lower DPI is appropriate:
- Scanning photos for social media sharing only
- Quick documentation for non-archival purposes
- Images already degraded or blurred where detail can’t be recovered
But if the goal is preservation, restoration, or printing, always aim for higher DPI.
Format-Specific Guidelines
| Format Type | Recommended Minimum DPI |
| Photo prints (4×6, 5×7) | 600–1200 DPI |
| Wallet-size photos | 1200 DPI |
| Slides (35mm) | 3000–4800 DPI |
| Negatives (35mm) | 3000–6000 DPI |
| Medium-format film | 2400–3200 DPI |
| Documents & certificates | 300–600 DPI (text), 1200+ for seals/signatures |
The Takeaway
DPI is not just a tech spec—it’s the foundation of your digital archive’s future. Scanning at the correct DPI ensures:
- Accurate preservation of detail
- Futureproof digital formats
- Better outcomes for editing, printing, or AI enhancement
If you’re doing it yourself, check your scanner’s optical resolution and scan higher than you think you need. If you’re hiring a service, ask what DPI they use.
At Scanthology, our standard scans start at 500+ DPI for prints and 3000+ DPI for negatives and slides—because your memories deserve nothing less. For most formats, we maintain the capabilities to scan well over 5000 DPI when needed.